Starting Dahlias from Cuttings
- Fraser Valley Flowers
- Mar 24
- 3 min read
Taking dahlia cuttings is one of the easiest ways to grow more of the varieties you love. It may feel a little intimidating at first, but with a gentle approach and the right setup, these small starts quickly grow into strong, bloom-filled plants.
In Langley, British Columbia (zone 8B), dahlias truly thrive. Our mild summers, long daylight hours, and warm soil temperatures create ideal growing conditions, allowing dahlias to grow strong, lush plants that bloom generously from mid-summer through fall. With the right care, they're one of the most rewarding flowers to grow in our region. Once established, a healthy dahlia plant can produce dozens of blooms over the season.
When to Take Dahlia Cuttings
In my zone, the ideal time to start taking dahlia cuttings is late February through April, depending on when your tubers wake up. From cutting to first bloom typically takes 10-14 weeks, depending on growing conditions.
Ideal Window
Late February-March:
For growers starting tubers indoors with heat and grow lights
Great for getting a head start and producing multiple cuttings
March-April:
Most common and beginner-friendly timing
Tubers are already actively sprouting and cuttings root easily
Step-by-Step Guide to Taking Dahlia Cuttings
What you'll need
Clean snips/scissors (if using, I typically break shoots off with my hands)
Small pots or cell trays
Moist sterile potting mix
Labels
Clean dome/bag (I use zip lock baggies)
Bright light (window, or grow lights)
Taking Cuttings
Wake the tubers you are planning to take cuttings from.
- Pot your tuber indoors in slightly moist soil, I typically pot them vertically in a pot, with the crown just above the soil.
- Keep it warm and in a bright location until shoots appear.
Wait for the right shoot size
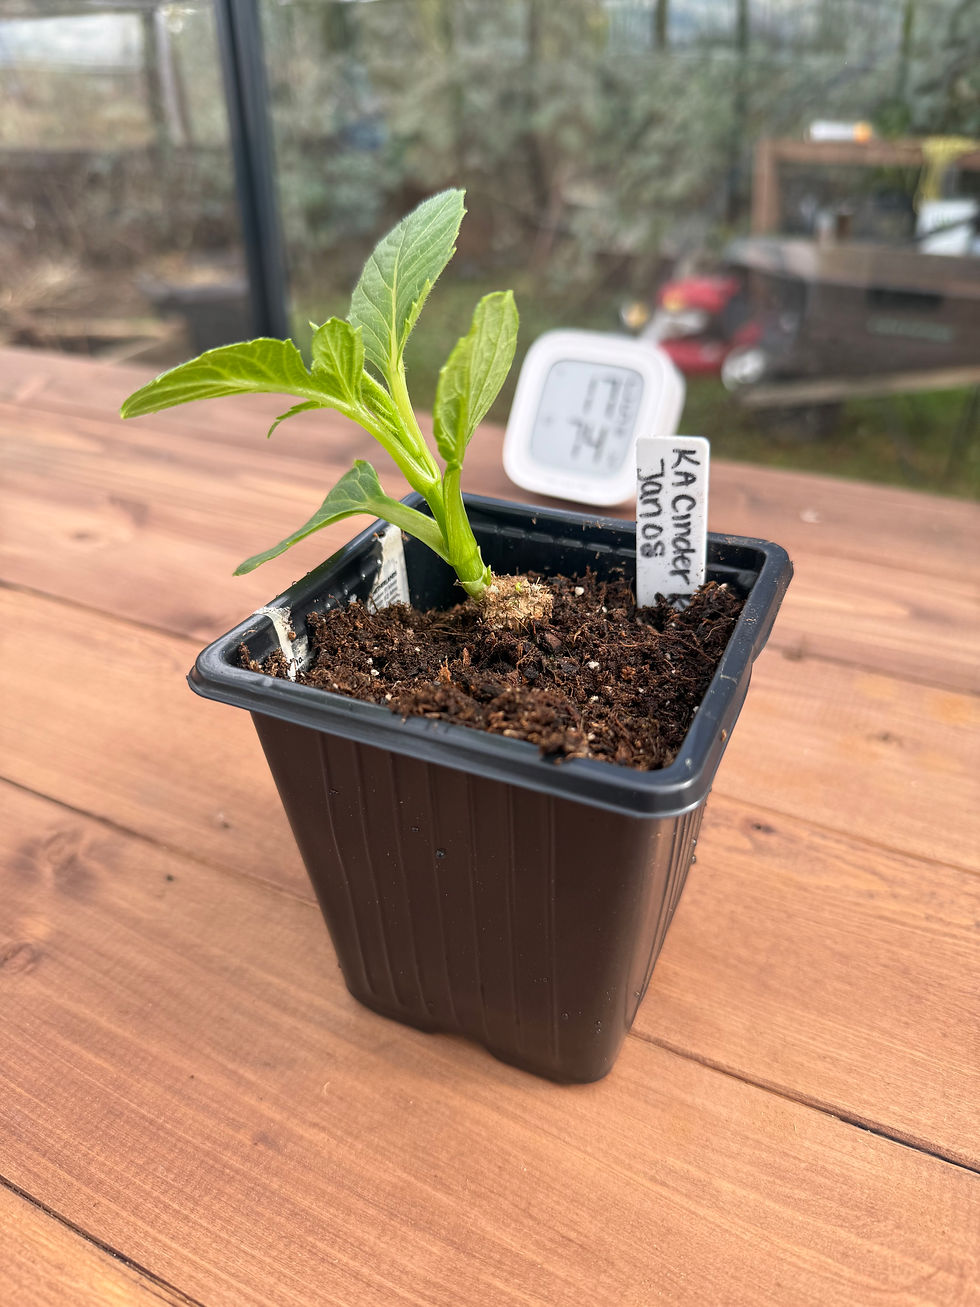
- Take cuttings when shoots are 2-6 inches tall and sturdy (not pale/leggy). The ideal cutting will also have 2-3 nodes on the shoot, which usually looks like 2-3 sets of leaves on the cutting.
Make the Cut
- Cut the shoot at the base, as close to the tuber as you can. I typically just wiggle the shoot off with my hands till it comes free from the crown.

Prep the Cutting
- Remove the lowest leaves so no leaves will sit in the soil.
- If the top leaves are big, you can trim them in half to reduce wilting.

Pot it Up
- Choose your preferred container for your cutting, typically, clear orchid pots are my favourite for cuttings since they are small, and clear to be able to watch root development.
- Once you have filled your container with moist sterile soil, make a hole in the soil that will fit the stem of your cutting.
- Dip your cutting in your preferred rooting hormone up to the nodes that will be buried in the soil (I use Pro-Mix Stim-Root).
- Insert the cutting so at least 1-2 nodes are fully under the soil.
- Firm gently so it stands up.

Give it Humidity + Warmth
- Place in bright, indirect light for the first few days.
- Use a clear dome/bag overtop of the cutting till you can see roots (can be anywhere from 10-21 days).
- Vent daily/every few days to prevent too much humidity/rot.
- Place under grow lights after the first few days.

Harden and grown on
- Once rooted, remove the dome/bag.
- Pot up if the roots fill the container.
- Once established, fertilize every 1-2 weeks with a diluted mix for seedlings.
Growing Tips
Light matters - start in bright, indirect light, then gradually increase sun once roots from. Too much direct sun too early can cause wilting.
Warmth speeds things up - cuttings root best in warm conditions. Aim for 18-22° C indoors.
Water gently, not heavily - keep soil lightly most, never soggy.
Harden off slowly - before moving outdoors, gradually introduce your cutting to outdoor conditions over 5-7 days.
Give it time, a good setup, and a little love - the blooms will follow.
Happy Planting!


Comments